Roof It Forward Case Study: Brick Chimney Flashing Installation
The Challenge
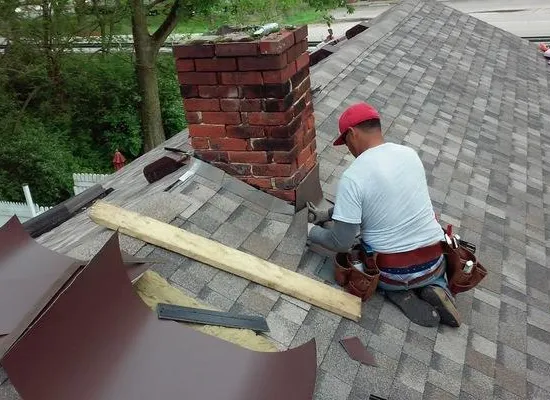
There have been many advances in chimney flashing, but the overall technique has not changed much over the years. Having an installer with custom metal bending capabilities is a must.


The Solution
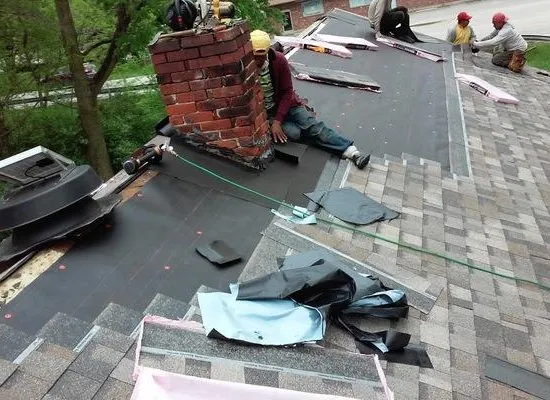
Installing an ice and water shield around the chimney area is actually your third line of defense for leaks. The product is installed over the felt paper and the step flashing (your second line of defense) is placed against the chimney and woven between each shingle course. Finally, the chimney counter flashing (your first line of defense) is installed (which is the finished product you see). The flashing is custom bent and cut into your chimneys brick or stone. The final line of defense with Roof It Forward is to use a matching high grade silicon 50 yr caulk to finish off the edges and against the brick and shingle surface. It is a thing of beauty when done correctly.